Easy Oreo Icebox Cake Parfaits: Elegant No-Bake Dessert

Is there any dessert as easy and gorgeous as an Oreo icebox cake? If you’ve struggled with oven baking, you’ll absolutely fall in love with this oreo parfait recipe. This oreo freezer cake takes only 10 minutes to make, but when served in a wine glass, it transforms into a sophisticated and fancy treat. This no oven cake is one of the best easy no bake desserts for any occasion. Shall we make this oreo ice cake together?

Why You’ll Love No-Bake Oreo Icebox Cake


Essential Kitchen Tools
- Kitchen scale: Please use a scale to get the perfect cream ratio for your oreo freezer cake.
- Mixing bowl
- Silicone spatula
- Hand mixer: Using a hand mixer will save your arms compared to a manual whisk when making Oreo cake.
- Piping bag: If you don’t have one, a Ziploc bag works fine for this Oreo ice cake.

Ingredients for This Creamy Oreo Parfait

Step-by-Step Oreo Icebox Cake Recipe
Preparing the Oreo Cream and Mascarpone Mixture
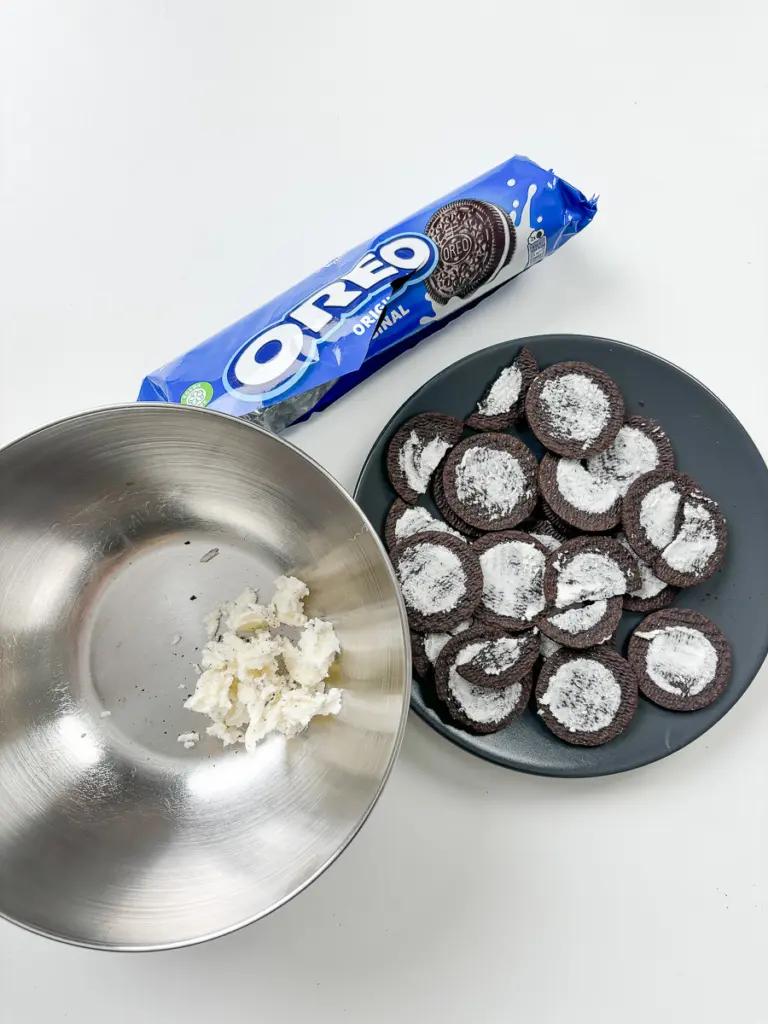
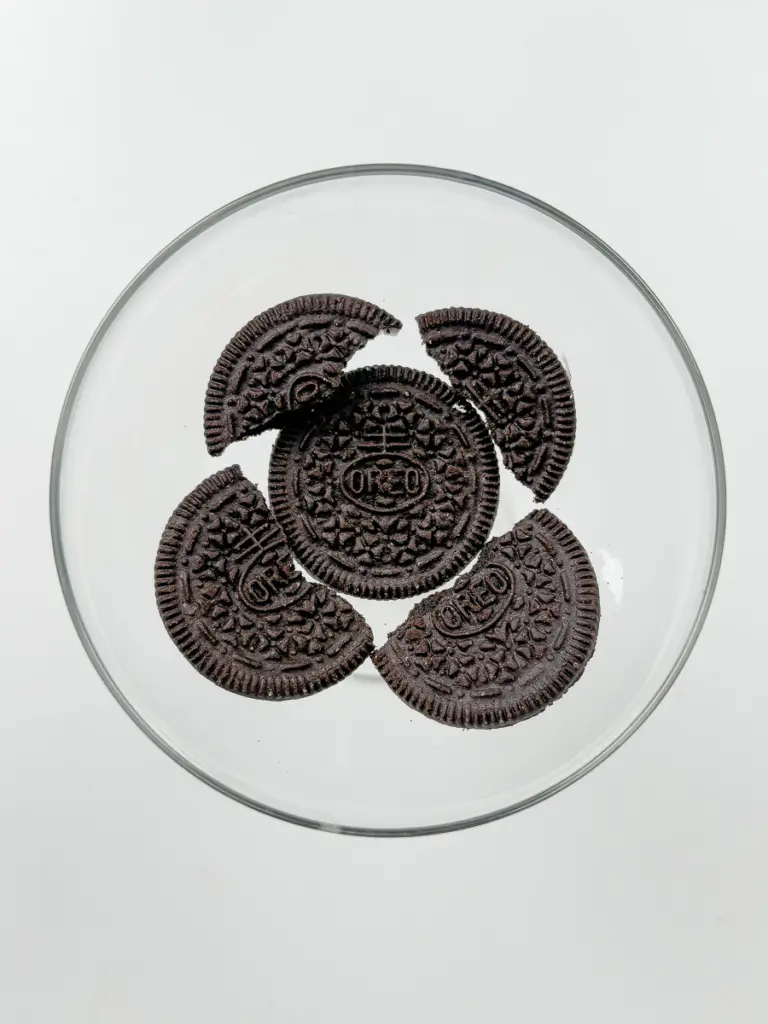
- Separate the cookies: Carefully separate the Oreo cookies and scrape the cream filling into a mixing bowl.

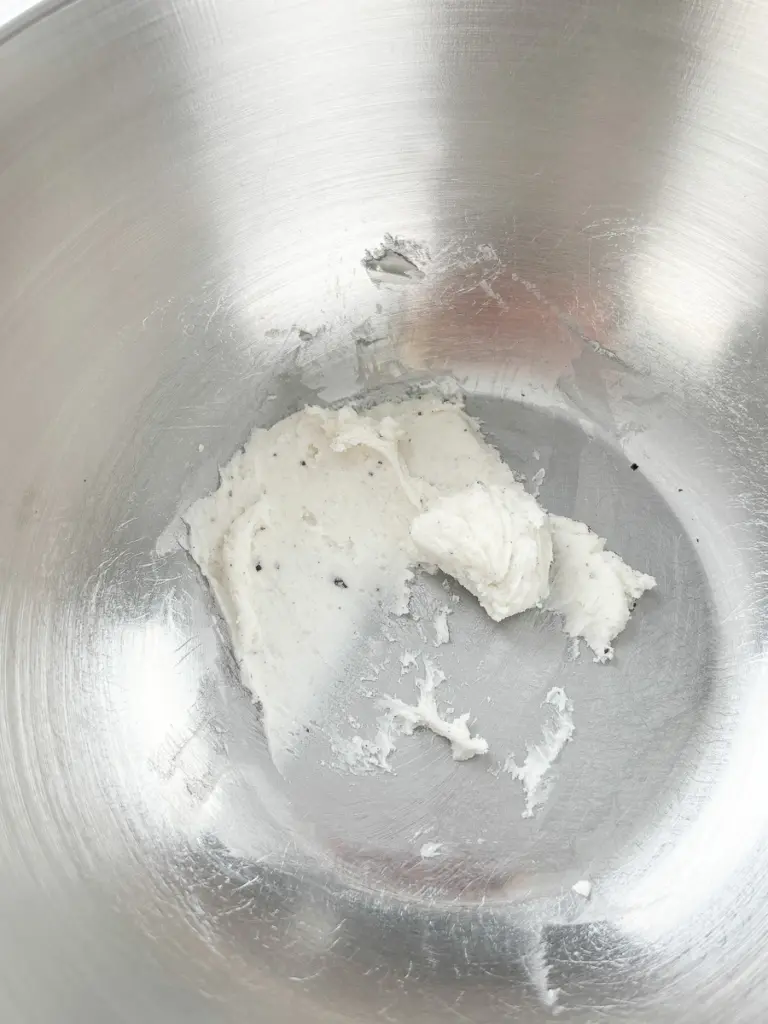
- Soften the filling: Use a silicone spatula to smooth out the collected Oreo cream filling.
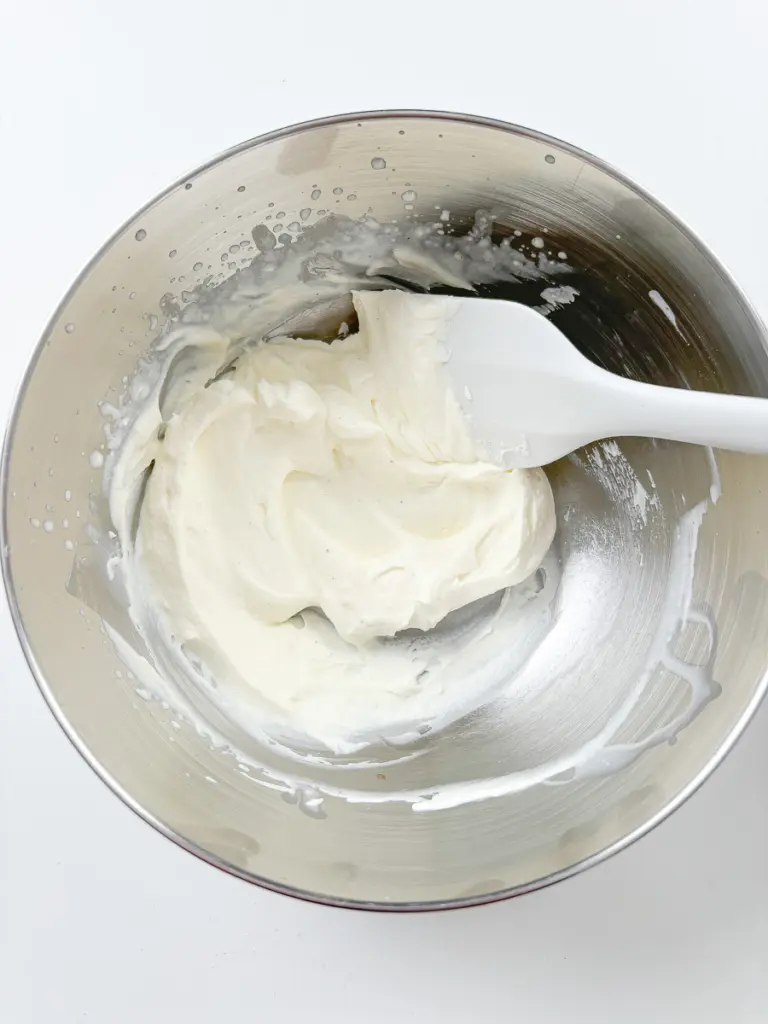
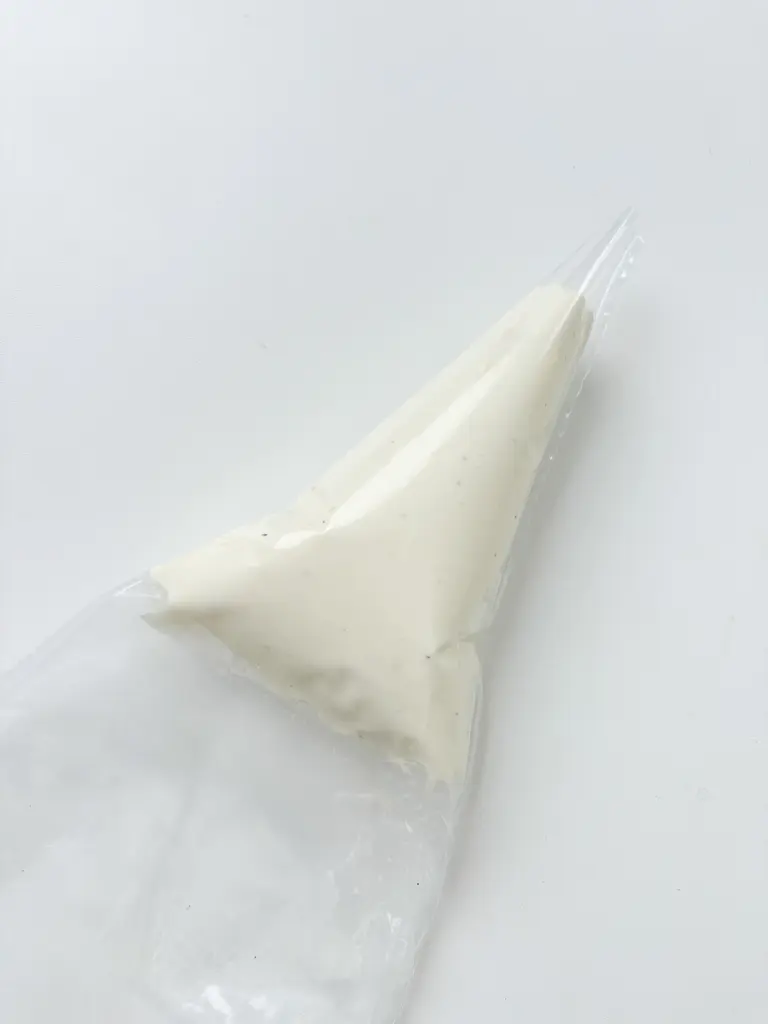
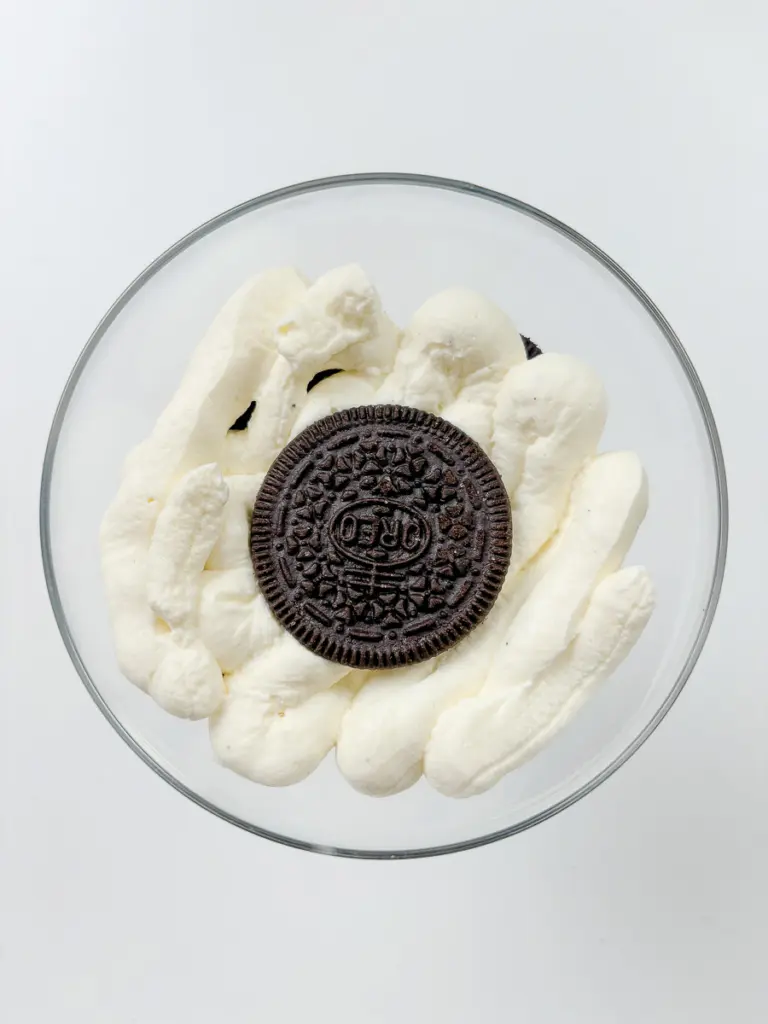
- Whip the cream: Add the mascarpone, heavy cream, and sugar to the bowl. Use a hand mixer until it reaches a thick consistency. Transfer this to a piping bag for your oreo parfait.

Layering Oreo & Cream
- Assembly: Place an Oreo cookie at the bottom of the glass, then pipe a layer of cream. Repeat this to create the beautiful layers of an oreo trifle.
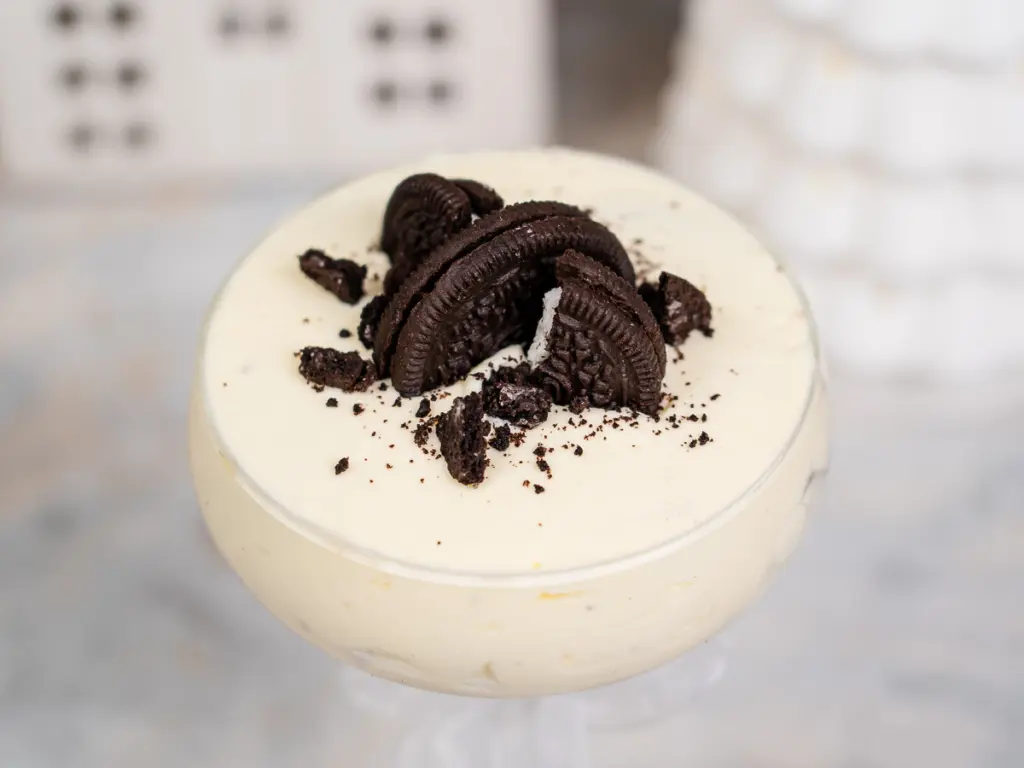
- Decoration: Finish your oreo ice box cake by placing extra cookies on top for decoration.

Pro Tips for The Best Oreo Trifle
Aging: Chilling your Oreo cake for at least 2 hours allows moisture to soften the cookies into a soft chocolate sheet. Half a day of aging makes it feel like a real Oreo cake. You can also enjoy it as an Oreo freezer cake by slightly freezing it before serving.
Avoid Over-whipping: Mascarpone cream can separate and become oily if over-whipped. Stop as soon as it forms a stiff peak to keep your Oreo cake velvety.

Variations & Substitutions
- Flavor Twist: Switch to Peanut Butter, Mint, or Strawberry Oreos for a unique oreo cake.
- Toppings: Adding fresh strawberries between layers of your oreo trifle makes for a stunning no bake oreo dessert.
The Science Behind the Icebox Cake Oreo
The magic of an icebox cake lies in the softening process driven by moisture migration. When you assemble your Oreo cake, the cookies act like sponges, absorbing moisture from the cream. This transforms crispy cookies into a tender, sponge-like texture, turning simple ingredients into a cohesive Oreo parfait. Without this fridge time, it’s just cookies and cream; with it, you create an iconic Oreo ice cake.

How to Serve Elegantly
Prepare a beautiful wine glass for your Oreo icebox cake. Layer the ingredients and garnish with crushed Oreos. Tying a ribbon around the stem of the glass makes this Oreo trifle an elegant individual dessert cup for any Korean cafe style setup.

Storage Instructions
This Oreo ice cake stays fresh in the fridge for 3 days, though it’s best within 1–2 days. For long-term storage, you can keep this Oreo freezer cake in the freezer for up to a week.

More Delicious Desserts Recipes
Easy Homemade Hotteok (Korean Sweet Pancakes)
Hotteok is the most iconic winter street food in Korea. I’ve prepared a simple recipe to make these chewy pancakes filled with warm brown sugar syrup, no pre-made mix required! I even tried a Nutella version; which one would be your favorite?

Hotteok Recipe (Korean Sweet Pancakes)
Gingerbread Man Brownies
Brighten up your Christmas holiday with these rich, fudgy brownies! This recipe is incredibly simple and fun. It’s the perfect way to spend quality time with family and friends as you decorate your own gingerbread men together.

Easy Christmas Brownie Recipe: Homemade Gingerbread Man Brownie
FAQ about Oreo Icebox Cake
Easy Oreo Icebox Cake Parfaits: Elegant No-Bake Dessert


Instructions
- Separate the cookies: Carefully separate the Oreo cookies and scrape the cream filling into a mixing bowl.
- Soften the filling: Use a silicone spatula to smooth out the collected Oreo cream filling.
- Whip the cream: Add the mascarpone cheese, heavy cream, and sugar to the bowl with the Oreo cream. Use a hand mixer to whip the mixture until it reaches a thick, stiff consistency.
- Prepare for assembly: Transfer the whipped cream mixture into a piping bag.
- Layer the cake: Place a layer of Oreo cookies at the bottom of your container.
- Then pipe a layer of cream on top. Repeat this process, alternating between cookies and cream layers.
- Decoration: Finish by placing more cookies on the top layer for decoration.
- Rest and serve: Let it mature in the refrigerator for at least 2 hours. The longer it rests, the richer and more "cake-like" the texture becomes. It is also delicious when slightly chilled in the freezer.


Nutrition
Tried this recipe?
I read and reply to every comment. Even one line tells me you made it, and helps the next reader find this recipe.
Rate & review– Sunjoo